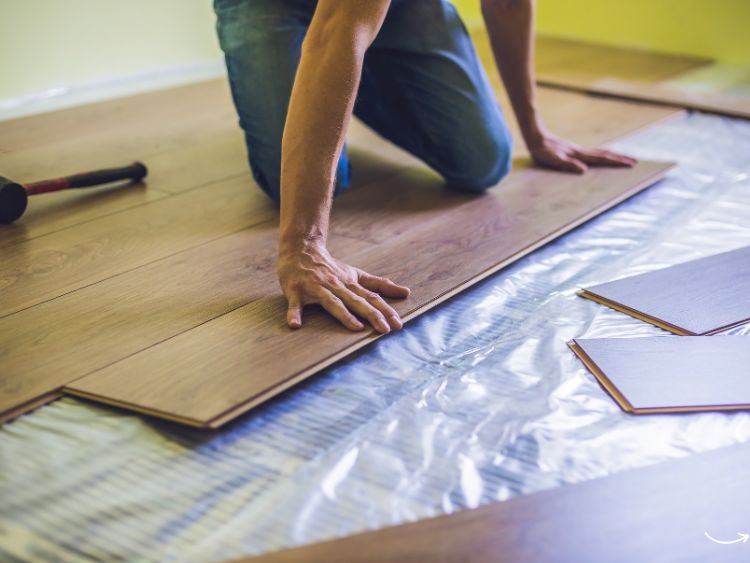
Installing a new floor can be a game-changer for your home, instantly elevating its aesthetics and functionality. But, to achieve a flawless finish, you need the right set of floor installation tools. Whether you’re a seasoned professional or a DIY enthusiast, having the correct tools can make all the difference. So, what are the must-have tools for floor installation? Let’s dive into the nitty-gritty details and ensure you’re well-prepared for your next flooring project!
Essential Tools for Floor Installation
Measuring and Marking Tools
Before you start laying down the floor, precise measurements and markings are crucial. Here’s a list of tools you should have on hand:
- Tape Measure: A reliable tape measure is your best friend in any flooring project. Ensure you get accurate measurements of the room and each plank or tile.
- Chalk Line: For straight and long lines, a chalk line tool is indispensable. It helps in marking guidelines on the subfloor.
- Carpenter’s Square: This tool is perfect for ensuring your corners and cuts are at a perfect 90-degree angle.
- Pencil: Always keep a sharp pencil nearby for marking your cuts and measurements.
Cutting Tools
Cutting flooring materials to fit perfectly requires precision. Here are the essential cutting tools:
- Utility Knife: Ideal for cutting vinyl and carpet tiles.
- Jigsaw: Perfect for intricate cuts around obstacles and irregular shapes.
- Miter Saw: For clean, straight cuts on wood and laminate flooring.
- Laminate Cutter: Specifically designed for cutting laminate flooring without splintering.
Installation Tools
Now that you’ve measured and cut your materials, it’s time to install them. These tools will ensure your flooring is laid down correctly:
- Flooring Nailer/Stapler: For hardwood floors, a flooring nailer or stapler is essential for securing the planks.
- Rubber Mallet: Use a rubber mallet to tap flooring pieces into place without damaging them.
- Pull Bar: This tool helps pull the planks tight, especially when you’re near the walls.
- Tapping Block: Used to tap the flooring pieces together, ensuring a snug fit.
Finishing Tools
For those final touches, you’ll need some finishing tools to give your floor a professional look:
- Floor Roller: A floor roller ensures that adhesive-backed flooring sticks properly to the subfloor.
- Trim and Molding Cutter: To cut and fit baseboards, quarter rounds, and other trim pieces.
- Caulk Gun: For applying adhesive and sealants to prevent moisture from seeping under the floor.
Tips for a Smooth Floor Installation
- Plan Ahead: Lay out your flooring plan before cutting. This can help you avoid mistakes and ensure a more efficient installation.
- Acclimate Your Flooring: Let your flooring materials acclimate to the room’s temperature and humidity for at least 48 hours before installation.
- Use Spacers: Maintain consistent gaps between the floor and the wall to allow for expansion and contraction.
- Check for Level: Ensure your subfloor is level. An uneven subfloor can cause issues with the flooring later on.
FAQs
What are the most important tools for installing hardwood floors?
For hardwood floors, the most important tools include a flooring nailer or stapler, a miter saw, a pull bar, and a rubber mallet. These tools ensure the planks are securely fastened and fit together seamlessly.
Can I use a utility knife to cut laminate flooring?
While a utility knife can be used for scoring and snapping laminate flooring, a laminate cutter or a miter saw is recommended for cleaner cuts and less effort.
How do I ensure my floor is level before installation?
To ensure your floor is level, use a long level tool or a laser level. Check for any high or low spots on the subfloor and sand down high spots or fill low spots with a leveling compound.
What type of adhesive should I use for vinyl flooring?
For vinyl flooring, use a high-quality vinyl adhesive recommended by the flooring manufacturer. Ensure the adhesive is spread evenly using a notched trowel for the best results.
How can I prevent gaps between my floorboards?
Using spacers during installation helps maintain consistent gaps between the floorboards and the wall. Additionally, ensure each plank is tapped into place using a tapping block and a rubber mallet.
Conclusion
Having the right floor installation tools is crucial for achieving a professional-looking floor that stands the test of time. From measuring and cutting to installing and finishing, each tool plays a vital role in the process. By equipping yourself with these essential tools and following best practices, you’ll be well on your way to installing beautiful and durable flooring. So, roll up your sleeves, grab your tools, and let’s get to work!
